
Integration Document
INTRODUCTION
This document provides a comprehensive guide to integrating GTM Engine with HubSpot by creating specific custom deal properties. This integration enhances data management and streamlines sales processes by capturing essential deal information within HubSpot.
PREREQUISITES
- Access to a HubSpot account with administrative privileges
- Familiarity with HubSpot’s interface and settings
STEP-BY-STEP INSTRUCTIONS
Step 1: Access HubSpot Settings
- Log in to your HubSpot account
- In the top navigation bar, click on the Settings icon (⚙️)

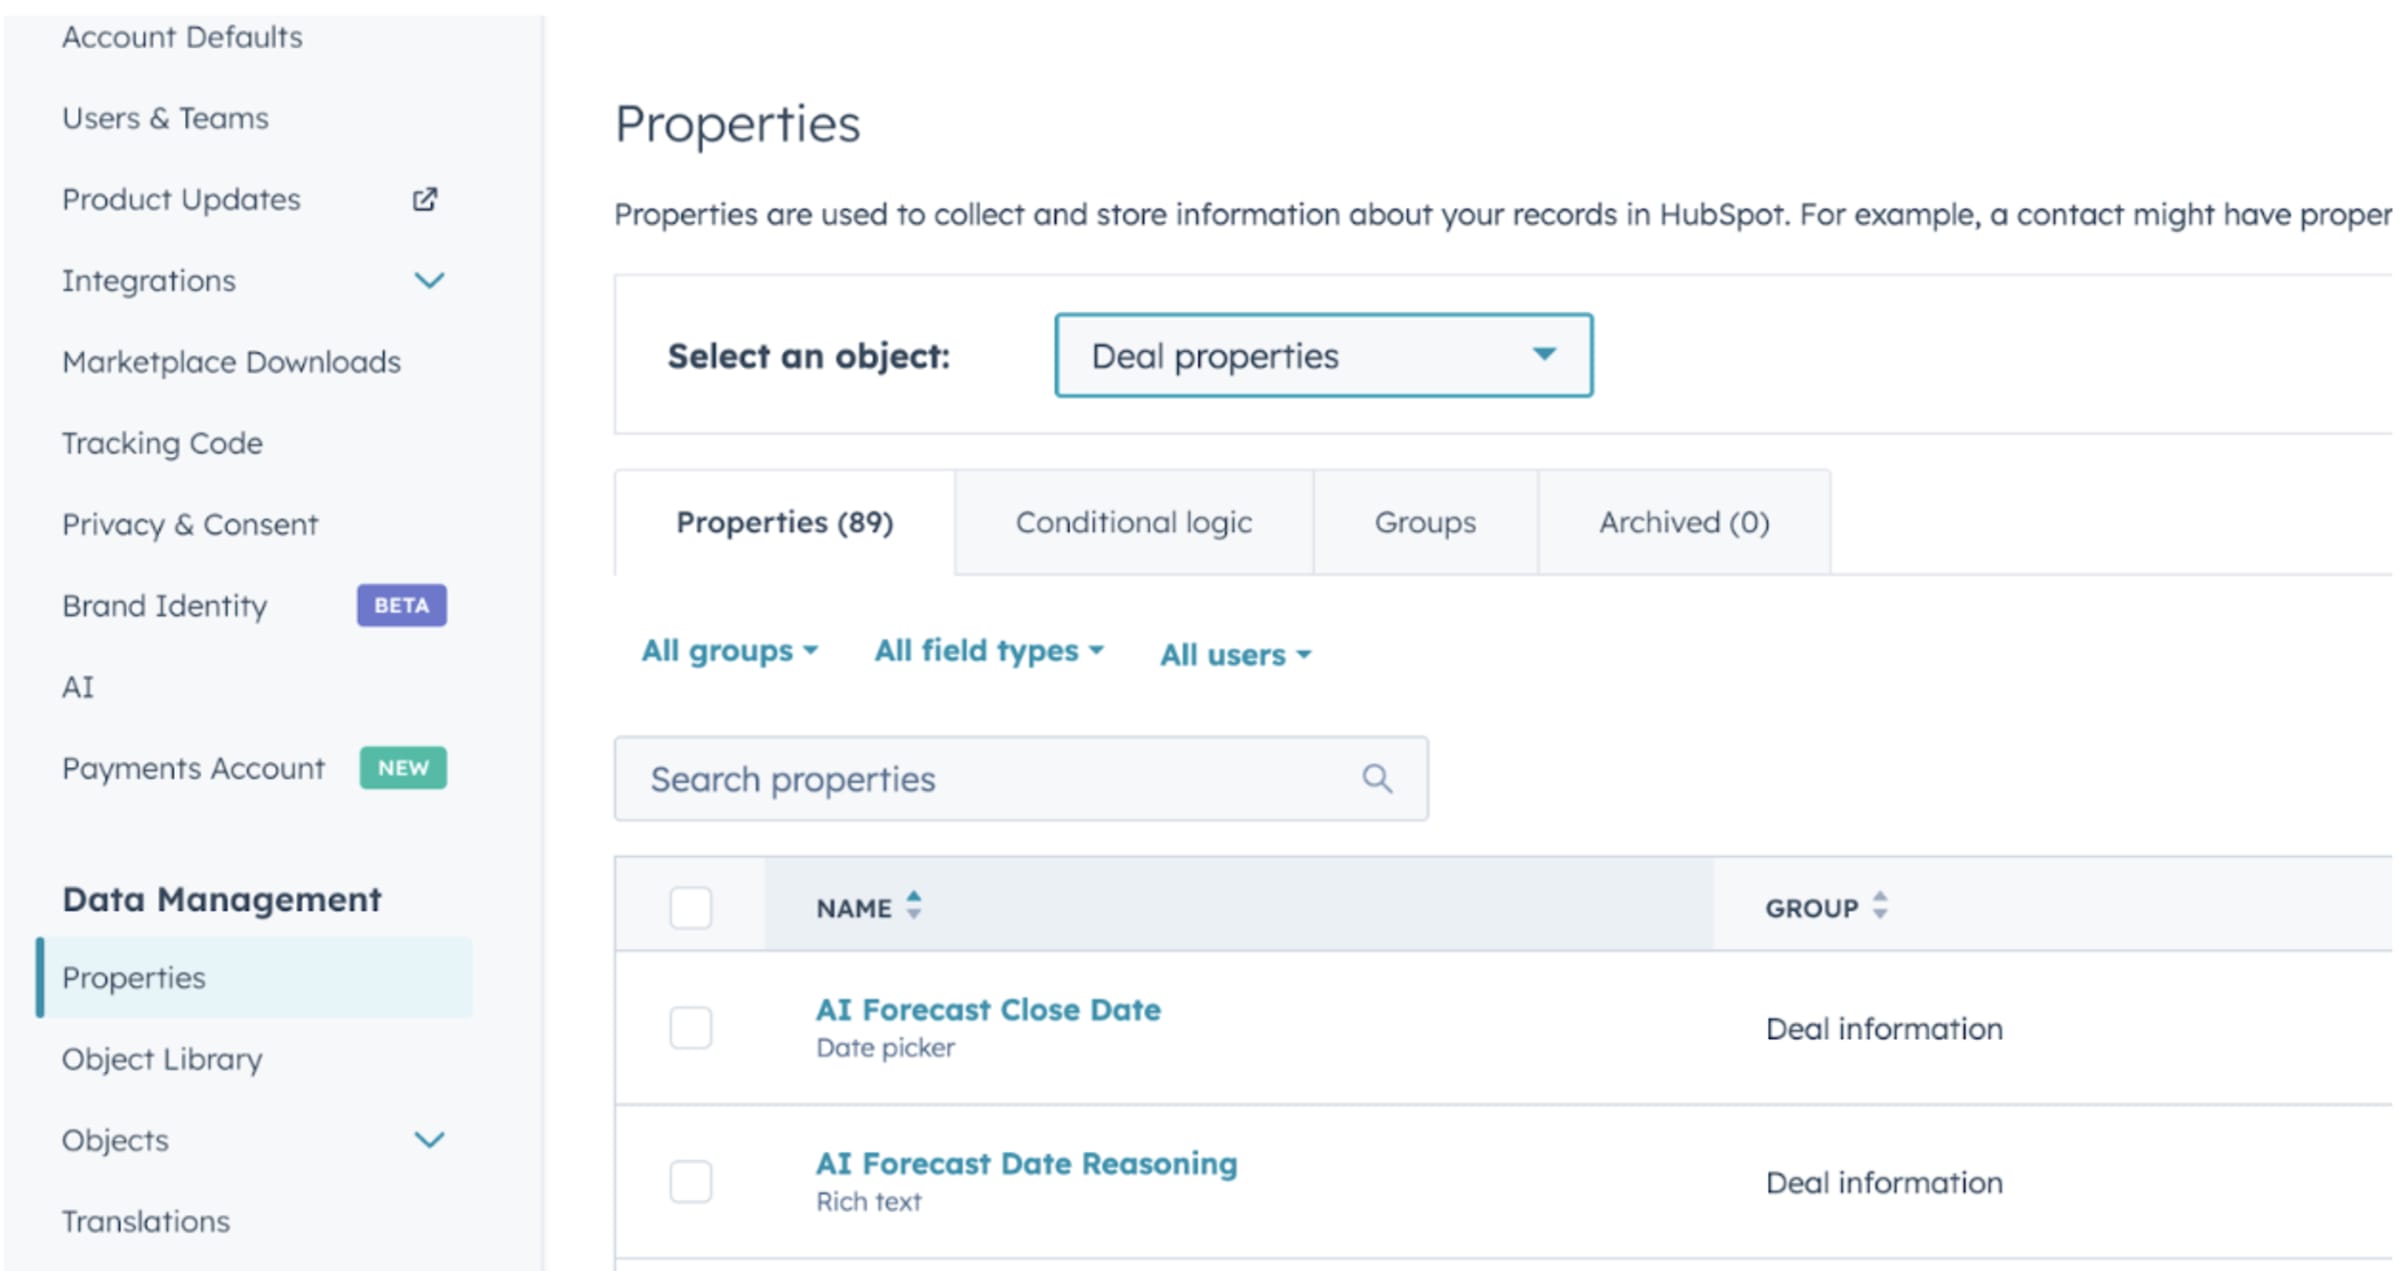
Step 2: Navigate to Properties
- In the left sidebar menu, scroll down to the Data Management section
- Click on Properties
Step 3: Select Deal Properties
- At the top of the Properties page, find the Select an object dropdown menu
- Click the dropdown and select Deal properties
Step 4: Create Custom Deal Properties
Create the following custom properties by following the instructions below:
INSTRUCTIONS FOR CREATING EACH PROPERTY
- Click on “Create property”
- On the Deal properties page, click the Create property button in the upper right corner
- Configure Property Settings
- Object type: Ensure “Deal” is selected
- Group: Choose the appropriate group (e.g., “Deal Information”) or create a new group
- Property Label: Enter the Field Name exactly as listed
- Description (optional): Add a description such as “Populated by GTM Engine” to clarify purpose
- Select Field Type
- Choose the matching field type from the table above
- Set Additional Options (if applicable)
- Rich text fields: No extra config needed
- Number fields: Select “Formatted number”
- Date picker fields: No extra config needed
- Single-line text fields: No extra config needed
- Finalize the Property
- Click Preview to confirm settings
- Click Create to save the property
- Repeat
- Repeat steps 1–5 for each custom property listed in the table
| Field Name | Field Type | Section |
|---|---|---|
| Business Model | Rich Text Area | Account Data |
| Competitors | Rich Text Area | Account Data |
| Employees | Rich Text Area | Account Data |
| Funding Data | Rich Text Area | Account Data |
| Industry | Rich Text Area | Account Data |
| Products and Services | Rich Text Area | Account Data |
| Recent News | Rich Text Area | Account Data |
| Propensity Score | Number | Account Analysis |
| Buying Process | Rich Text Area | Opportunity Data |
| Competitors | Rich Text Area | Opportunity Data |
| Customer Use Cases | Rich Text Area | Opportunity Data |
| Deal Description | Rich Text Area | Opportunity Data |
| Deal Participants | Rich Text Area | Opportunity Data |
| Important People Mentioned | Rich Text Area | Opportunity Data |
| Overall Interest Level | Number | Opportunity Data |
| Participants | Rich Text Area | Opportunity Data |
| Tech Stack | Rich Text Area | Opportunity Data |
| Timeline and Budget | Rich Text Area | Opportunity Data |
| Wow Moments | Rich Text Area | Opportunity Data |
| AI Forecast Close Date | Date | Opportunity Analysis |
| AI Forecast Date Reasoning | Rich Text Area | Opportunity Analysis |
| AI Forecast Month | Text | Opportunity Analysis |
| Deal Gaps | Rich Text Area | Opportunity Analysis |
| Health Score | Number | Opportunity Analysis |
| Health Score Reasoning | Rich Text Area | Opportunity Analysis |
| Path To Close | Rich Text Area | Opportunity Analysis |
| Predicted Stage Reasoning | Rich Text Area | Opportunity Analysis |
| Suggested Strategies | Rich Text Area | Opportunity Analysis |
| Interest Level Reasoning | Rich Text Area | Contact Data |
| Internal Blockers/Challenges | Rich Text Area | Contact Data |
| Motivations/Problems Solved | Rich Text Area | Contact Data |
| Personal Information | Rich Text Area | Contact Data |
| Promoter Score Reasoning | Rich Text Area | Contact Data |
| Contact Role Reasoning | Rich Text Area | Contact Analysis |
| ICP Persona Reasoning | Rich Text Area | Contact Analysis |
VERIFICATIONS
After creating all custom properties:
- Search for Properties
- Use the search bar on the Deal properties page to locate each new property
- Confirm Details
- Ensure each property has the correct field type and is spelled correctly
POST-INTEGRATION STEPS
- Inform Team Members
- Notify your sales and marketing teams about the new properties
- Let them know these fields are automatically populated by GTM Engine and should not be edited manually
- Update Deal Views
- Customize deal views and forms to include these properties as needed
- You can organize them into suggested groups from the table, or based on personal/team preference
CONCLUSION
By completing these steps, you have successfully set up HubSpot for integration with GTM Engine. The new custom deal properties will enhance your ability to track and analyze crucial deal information, leading to more informed decision making and improved sales outcomes.
